Clients
Multi-client capability
Instructions for using multi-client capability in LIMBAS. Please note that a reset is recommended after each step.
Step 1: Setup
First set the following environment variables as administrator (under [admin -> Setup -> UmgVar]) to activate the multi-client capability and define the maximum length of the client ID (e.g.

Accept the setting (click on “Change”).
Step 2: Release tables
Specify which tables should support multi-client capability. Navigate to [admin -> Tables] and select a table group. Activate the “Client” option for the desired tables.
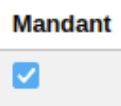
Fig. Select table
Step 3: Create clients
Next, navigate to [admin -> Setup-> Clients] and create any number of clients there. If synchronization templates exist on your system and at least one slave system has been specified, a sync slave can optionally be assigned to the client. This option is only available if both the “Sync” and “Client” fields are set for the relevant tables.

Fig. Create client
The multi-client-capable “Customers” table (see step 2) can be synchronized with “Slave1” if a corresponding synchronization template has been created. The “Articles” table, on the other hand, is multi-client capable but cannot be synchronized.
Step 4: User-client assignment
To assign one or more clients to a user, navigate to [admin -> Users/Groups -> Administrate]. Activate the client option for a specific user group, which can be found under [Usage rights -> Info menu]. “Apply” the setting.
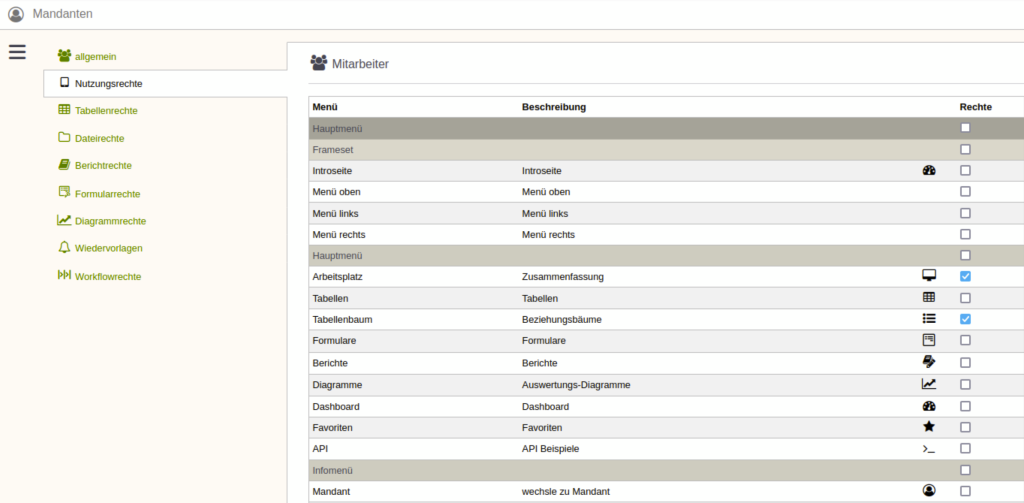
Fig. Usage rights
In this example, multi-client capability has been activated for the “QM” user group. Clients can also be assigned to the administrator (“admin”) so that they can act as a specific client.
Then select a user and select any number of the clients created in step 3. Accept the setting (click on “Change”).
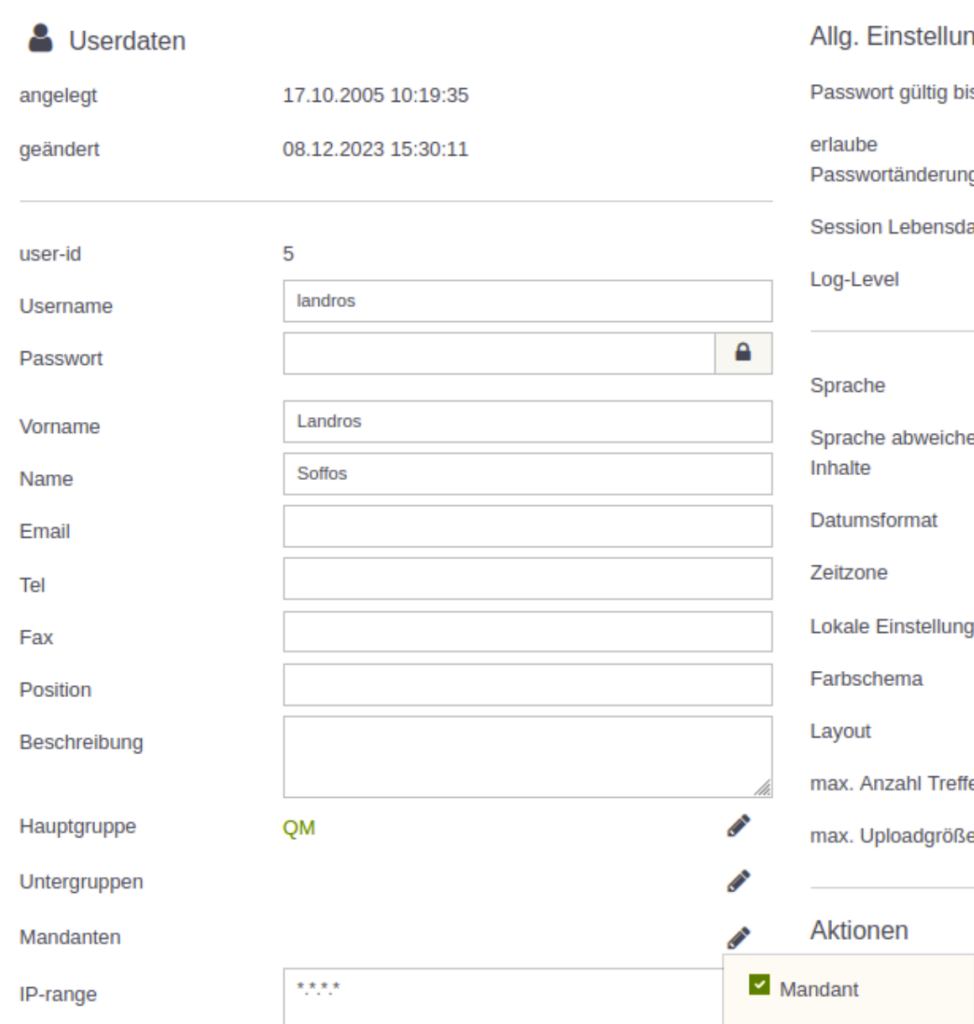
Fig. Assign user
Attention: By assigning a client, the user loses access to data records that are not associated with the client, in particular all data records that already existed before the client was created. However, this does not apply to the administrator; regardless of which clients are assigned to him, all data records are available to the administrator at all times.
Newly created data records are automatically associated with the client who created them.
Step 5: Multiple clients
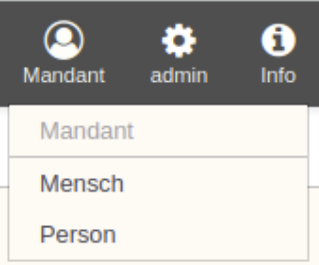
If more than one client has been successfully assigned to a user, a new menu appears in the main menu bar. The client as which the user is to act can be selected there.